
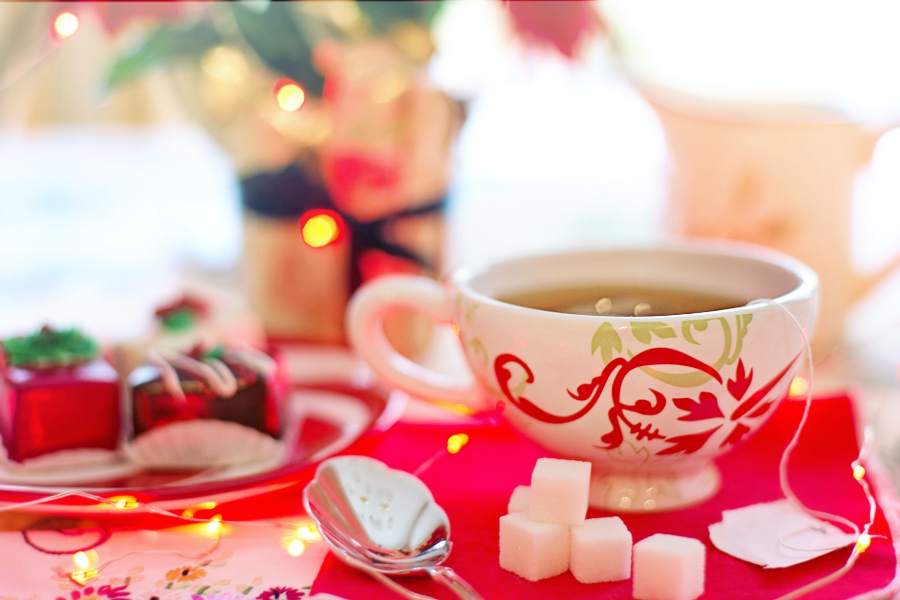
How would you like your tea— with a lump of sugar or two? You might occasionally here this when ordering or preparing a cup of tea. The exciting thing is that creating sugar cubes is quite simple. To do so, here are steps on how to make your own sugar cubes.
Quick Navigation
How to Make Sugar Cubes
To make sugar cubes, mix sugar and a bit of water until it forms a wet sand-like texture. Pack the mixture in the mold tightly, and let the sugar cubes dry overnight. Pop the cubes out of the mold, and transfer them to an airtight container.
Depending on your preference, you can also put drops of food coloring to make colorful sugar cubes. Another option is to add flavorings, such as vanilla, lemon, or almond extracts. Whatever sweetness level or flavor you like, it only takes a few steps to create tasty sugar cubes for tea.
1. Collect the Ingredients and Tools
Like when steeping tea leaves, you can find most of the ingredients and tools necessary to form sugar cubes at home.
- 1 cup or 8 ounces of white granulated sugar or agave
- 2 teaspoons of water or floral water, add as needed
- 1/8 teaspoon of flavor extract (optional)
- 1 to 2 drops of food coloring (optional)
- Candy or ice cube mold
- If you don’t have a mold, you can use a small cake or sheet pan then cut the mixture into cubes
- Mixing bowl
- Baking spatula or spoon
- Pastry scraper or brush
- Airtight container or jar
Note that the measurements for this recipe create approximately 30 sugar cubes. So, you may have to adjust the quantity depending on your mold’s size or desired number of cubes.
2. Create the Sugar and Water Mixture
As carbohydrates, sugar gets broken down into glucose, which becomes an energy source in a person’s diet. However, the World Health Organization recommends that adults and children reduce sugar consumption to less than 5% of the daily calorie intake, or 6 teaspoons, to gain health benefits.
Sugar cubes enable you to sweeten beverages like tea, as the cubes dissolve quickly. While it may depend on the size, a sugar cube equates to 1 teaspoon of sugar, so be careful when increasing the amount of sugar while mixing.
- Put the sugar and water in a bowl, then use the spatula or spoon to distribute the water.
- Mix until you achieve an even texture. The sugar should look crumbly yet moistened.
- Add more sugar if the mixture is watery. If it’s too dry, sprinkle some water.
- It should feel like a clump of wet sand when you squeeze it in your palms.
- If you want to make fun, colorful sugar cubes, place a drop of coloring food and stir it into the mixture. Add coloring food sparingly to prevent the hue from becoming too dark.
- To put some flavor, you can also pour extracts of almond, lemon, or vanilla, whichever satisfies your sweet tooth.
- Another option is to grind vanilla beans, cinnamon, or other spices that would complement your tea.
- Add some sugar if the mixture becomes watery again.
3. Form the Shapes
In the 1700s, Europeans pounded and smashed brown loaves into smaller pieces to get sugar. By the 1800s, stores sold sugar in random-sized pieces that wouldn’t fit in a cup, leaving an inconvenient sticky clump once you finish drinking tea.
In the 1840s, Jakub Kryštof Rad’s, a sugar refinery head from Moravia, innovated and patented a specialized press to make sugar cubes. The invention happened when his wife, Juliana Rad, cut a finger while chopping a block of sugarloaf.
However, you don’t need a sugar cube-making machine to make sugar cubes for tea. Now that you have the perfect mixture, all you have to do is use a trusty mold or sheet pan to mold the mixture into sugar cubes.
- Use a spoon to get a clump, then transfer the mixture down firmly into the mold to ensure the sugar holds out the shape.
- If the molds have deep shapes, fill them only halfway. Filling each space completely might prevent the mixture from taking shape.
- Use a pastry scraper or brush to remove excess wet sugar.
- If you don’t have a mold, you can spread the mixture about half an inch thick on a sheet pan. Use an offset spatula or knife to even the surface. Then, cut it into cubes.
4. Let the Cubes Dry
When learning how to make sugar cubes, it’s best to let the cubes dry overnight or for at least 6 hours at room temperature. Keep in mind that the humidity, mold size, and the sugar’s consistency influence drying times.
If you need the cubes right away and you’re using a microwave-safe mold, you can also pop it in a microwave at 180 degrees for 30 seconds to evaporate moisture.
5. Transfer the Sugar Cubes
When there’s no moisture left, it’s time to remove the cubes from the mold carefully. Transferring the cubes to an airtight container or jar allows you to store them indefinitely.
- Once you open the jar again, this is an opportunity to trap air and moisture. You can put a slice of soft white bread inside the jar to absorb moisture and prevent the sugar cubes from clumping.
- If you dried the mold in a microwave, let the mold cool briefly before flipping out the cubes.
- Put sugar tongs in the container so the moisture from your fingers won’t affect the rest of the cubes.
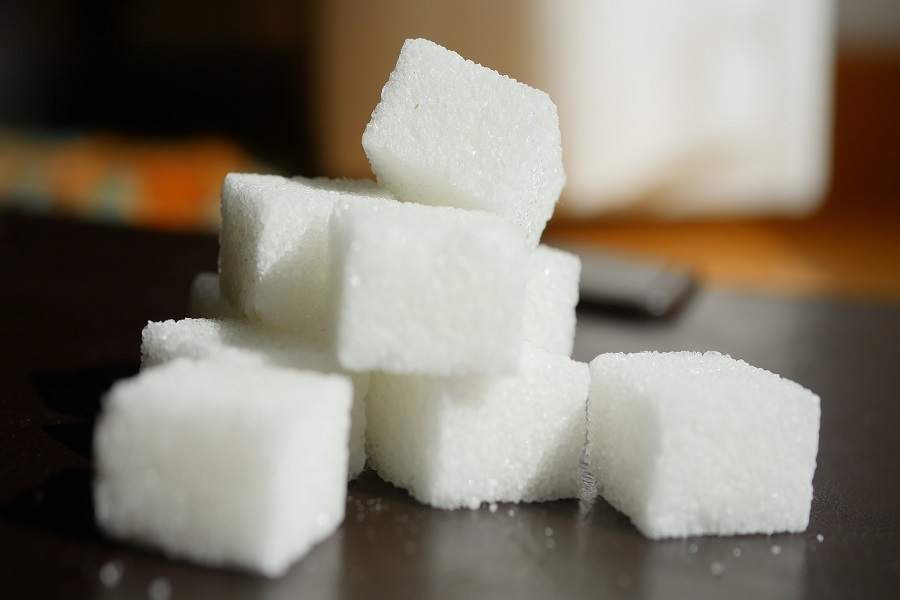
Your homemade sugar cubes are ready to go! You can use them for your tea breaks or even as a gift to your fellow tea lovers. About 1/3 of tea drinkers put sugar, cream, and other calorie-rich additives into their cups.
However, you have to be cautious as using caloric add-ins like sugar increases daily caloric intake by more than 43 calories. It may seem small at first, yet the extra calories every day can increase body weight. Thus, make sure to put cubes in your tea moderately.
Conclusion
It only takes a few steps to craft these sweet bites. Once the sugar cubes fully take form, you can use them for your tea breaks, adding a visual aesthetic to every freshly brewed cup of tea. It also of course brings a sweetness to the flavor profile (if that’s what you prefer), whether serving hot or cold tea.

Scott is the founder of TeaMinded. He enjoys tasting and discovering teas from across the globe, with green teas and ceremonial matcha from Japan being among his favorites. He’s grateful to be immersed in the tea community, always learning and sharing along the journey.